Search Results for: snip

Snip, Snip… Snow!

 My kids look forward to a winter wonderland every year. They like to catch snow with their hands, taste the snow with their tongues and create their own snowmen with things they find in and outside our house. So, when I borrowed this book, Snip, Snip…Snow, from the library, I knew that they would love reading it.  As a home educator, of course, I like to make every experience a learning one. And what better way to turn this language arts lesson into art.

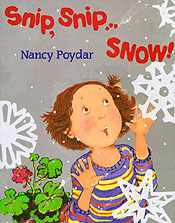
Snip, Snip… Snow! by Nancy Poydar is about a little girl, Sophie, who longs for snow. Sophie was excited to hear the forecast predicted snow, but was disappointed when she learned that the forecast was wrong. In the meantime she and her classmates made beautiful snowflakes in class. As she was cutting her pretty snowflakes, real soft snow drifted from the sky. This is a delightful story. The book includes instructions on how to make your own paper snowflakes.

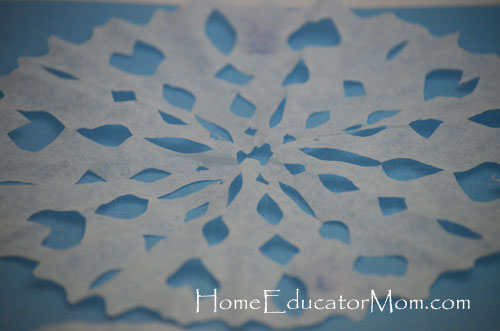
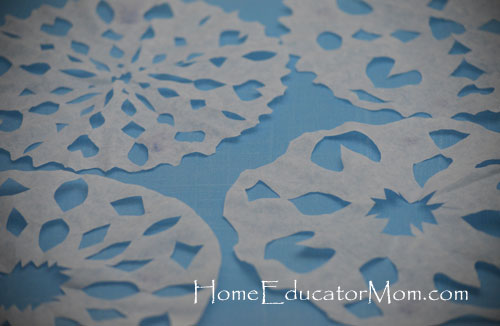
As an art extension, we made these snowflakes:

Materials:

1. white coffee filters or precut paper circles
2. scissors

Instructions:

Simply fold coffee filter into half 3x and start cutting. Experiment with cutting out different shapes out of the three sides and the pointy tip to see what you get. Unfold and enjoy your beautiful handiwork!

To learn how to make colorful coffee filter snowflakes, read Colorful Snowflakes. Interested in making some yummy snowflakes to eat, click Edible Snowflakes.
 

Merry Christmas 2012


Merry-Christmas

I hope you’re all enjoying a blessed Christmas time with your family this holiday season. May your celebration be joyous and memorable. Have a Merry Christmas everyone!

Looking for some Christmas or winter activities for your kids? Here are some we’ve done. Enjoy!

  1. A Wordless Book Birthday Cake for Jesus
  2. What is Christmas?
  3. Chenille Stem or Pipe Cleaner Candy Canes
  4. Beaded Candy Canes
  5. Edible Snowflakes
  6. Snip, Snip… Snow! Book & Activity
  7. Colorful Snowflakes
  8. Christmas Carols
  9. Make a garland of Jesus’ names


Sushi Bowl Recipe

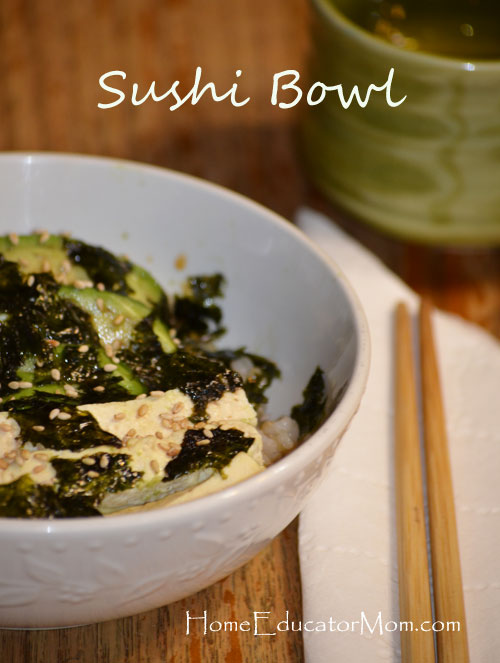
Sushi-Bowl with Tofu, Seaweed and Sesame seeds

My family loves sushi. A couple of times out of the month I’d make California rolls and my kids just couldn’t have enough of it so I decided to change things up a little bit and convert regular sushi into a sushi bowl. This sushi bowl turns out to be a hit and now one of our favorite family meals. Here’s my version of the sushi bowl.

Ingredients:

2 cups short-grain brown rice
3 1/2 cups water
3 (4-inch) square sheets nori seaweed
6 ounces extra-firm tofu
2 avocado, peeled, pitted, and thinly sliced
3 tablespoons sesame seeds, toasted
4 green onions, chopped (optional)

Instructions:

Rinse and drain the rice two or three times. Combine the rice and water in a rice cooker or a saucepan and bring to a boil over high heat, cover, and simmer gently until the water is absorbed, about 45 minutes.

Toast the nori in a preheated 300F degree oven or a medium-hot skillet for a few minutes. Crumble or chop coarsely.

Drain the tofu and pat it dry. Cut the block of tofu lengthwise through the middle to make four 1/4-to 1/2-inch thick sheets of tofu. Two at a time, cook in a dry skillet or well-seasoned skillet over medium-high for a few minutes until browned on one side. Flip gently, then continue cooking for another minute or so, until the tofu is firm, golden, and bouncy. Let cool, enough to handle, then cute crosswise into matchsticks. Repeat with the remaining sheets.

When the rice is done, scoop the rice into individual bowls and top with tofu and avocado slices following with some yummy homemade Ponzo sauce (see below). Lastly, toss in toasted nori and add a sprinkling of sesame seeds. Garnish with chopped up green onion. (optional) Served immediately with Orange-Ginger Dipping Sauce or Ponzo sauce. See Easy Homemade Ponza Sauce below for recipe. Enjoy!

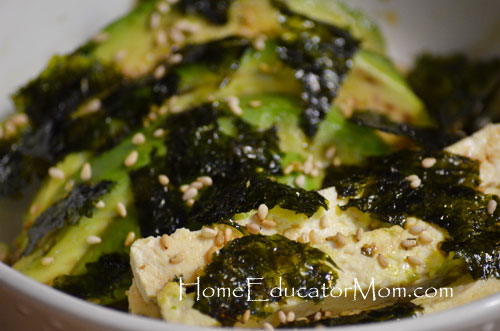
Sushi-Bowl with Tofu, Seaweed, Avocado and sesame seeds

Makes 4-6 servings.

Notes: Other substitutes for tofu are wild salmon filets, chicken or beef. To avoid GM foods (Genetically Modified foods or biotech foods) use organic tofu.


Easy Homemade Ponzo Sauce

3 tablespoons low-sodium tamari soy sauce
3 tablespoons rice vinegar (brown or white)
3 tablespoons mirin (Japanese seasoning wine)

Makes about 1/2 cup

Ponzo sauce from The Taste for Living World Cookbook by Beth Ginsberg and Mike Milken and sushi bowl recipe adapted from 101 Cookbooks.

To get a snippet of GM foods, watch Food Inc., a documentary. Your library might carry this.

Edible Snowflakes

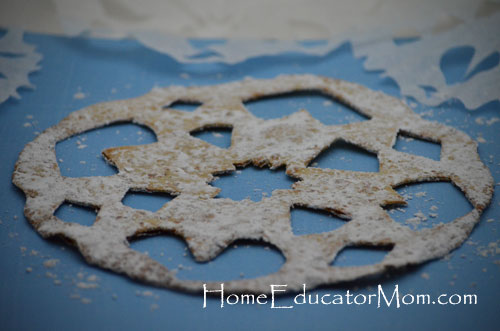
In keeping with the season and continuing on our reading of Snip, Snip… Snow! and other snow books, I decided to do an edible snowflake activity with the kids. They had a fun time and the best part was eating it.  Here’s how:

Ingredients:

Flour tortillas, any vegetable oil (I used grapeseed oil), powdered sugar, parchment paper.

Instructions:

Preheat the oven to 400 degrees. Microwave the tortillas for about 10-15 seconds until they are soft and warm. Fold each tortilla as if you were folding paper or coffee filter to make a snowflake. Read this post Snip, Snip… Snow! on how to cut snowflake instructions. Use kitchen scissors to cut shapes…just like you were using paper. Unfold the tortilla. Lay parchment paper on cookie sheet and brush oil on both sides of snowflake. Bake the snowflake on the cookie sheet for about 5 minutes or until it’s lightly browned and crisp. Remove from oven and sprinkle with powdered sugar or any other edible toppings you would like. Now, enjoy this yummy treat!

Note: In my quest for healthier options, I tried using whole wheat tortillas, but sadly they tasted like chewy cardboard, so you’re better off sticking with your white flour tortillas.

For instructions on making colorful snowflakes, read this post Colorful Snowflakes.

Recipe adapted from MamaJenn.


Colorful Snowflakes

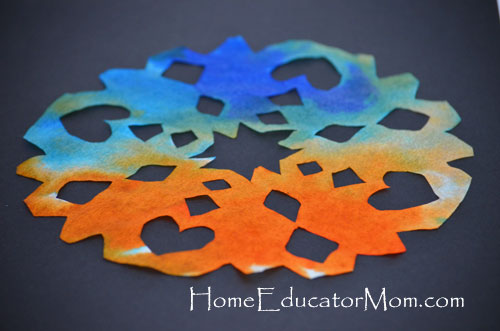
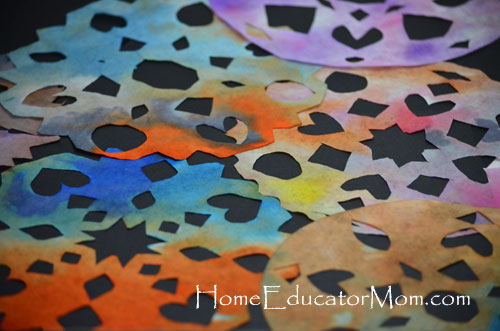
As an extension activity to Snip, Snip… Snow! by Nancy Poydar, we made some coffee filter snowflakes. Instead of leaving it white, I asked the kids to use their imagination and mix the colors that we have been learning at home.  This was a fun and interactive activity that I am sure your kids will love as well.  Here’s how…

To start, click my post Snip, Snip… Snow! for instructions on how to make some white coffee filter snowflakes.

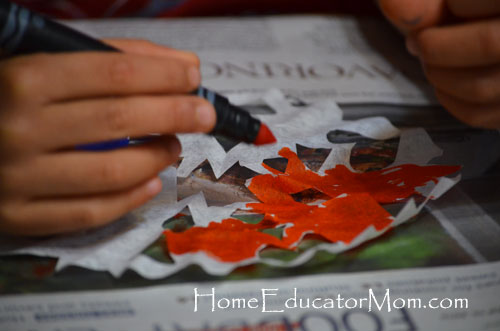
Once you have your precut white paper snowflakes, children can use any color of markers to draw on the snowflakes. The great thing is, no particular design is needed.

Chico’s working on his. I put newspaper underneath the snowflake to keep the ink off the table.

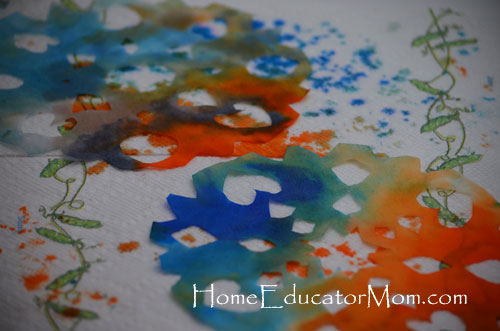
After adding some colors to the snowflakes, using a spray bottle and spray the snowflake until the colors start to blend. Here’s a couple of ways to do this part. Lay snowflake on cookie sheet and have your child spray or an adult can take the snowflake to the kitchen sink and spray it. Let the wet snowflakes drip dry in your hand. Then set it flat on some paper towels to dry.

Wet snowflakes laying flat on the paper towels.

Our beautiful work of art: colorful snowflakes!

Adapted from A Story + Art = A Great stART. For More stART stories, visit A Mommy’s Adventure.